Creating and managing user accounts
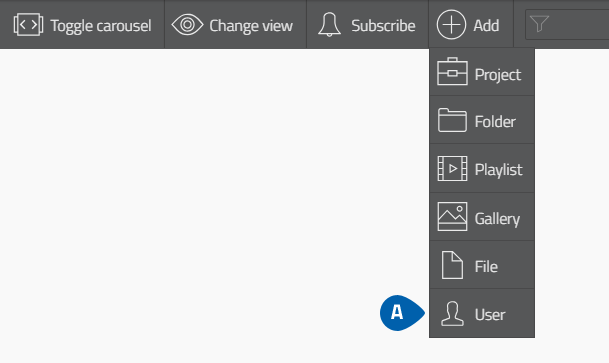
- Click on "Add" - "User" in the browser of your Webgate Project to add users to your project.
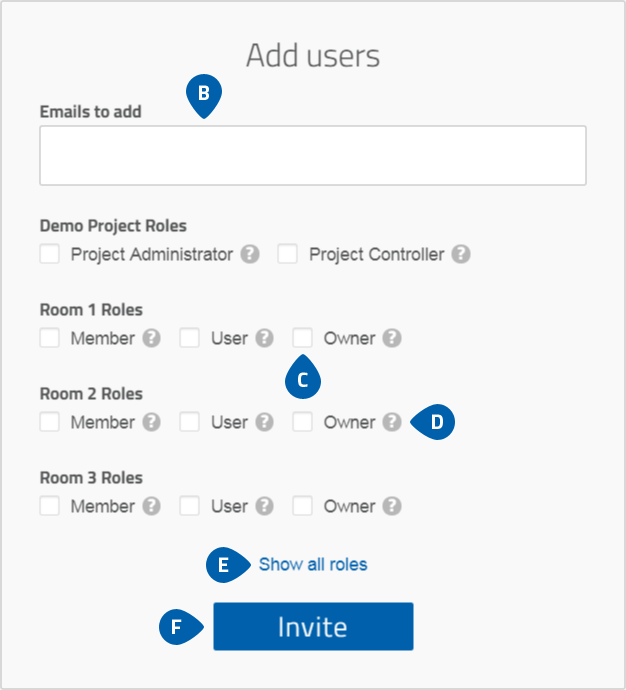
- Type in the e-mail addresses of the users you want to add.
- Select the roles for the desired rooms to which the users should have access to.
- Click on the question mark to see what a certain role is capable to do.
- Click on “Show all roles” to see all possible roles.
- Click on “Invite” to add the users.
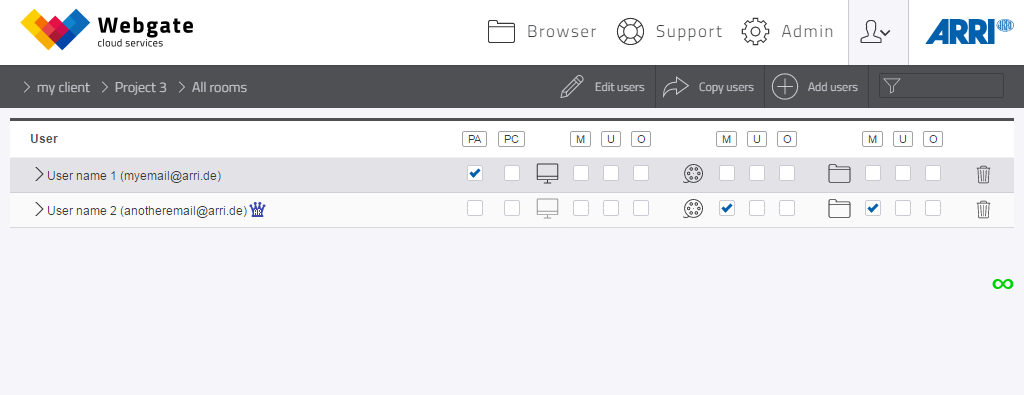
Member Overview
Use the project context menu to navigate to the "Members" – "Overview" with the overview of all project participants. Here you can add, copy and edit users, and assign them roles in the various rooms. PA stands for Project Administrator, PC for Project Controller, M for Member, U for User and O for room administrator. You can change the rights of the roles Member, User and Room Administrator via the contextmenu of the project by selecting "Roles".